Your 7 Step Guide To Washing And Shining Your Motorcycle
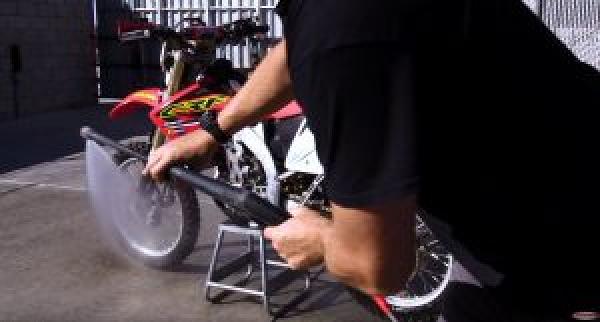
Washing your motorcycle isn't just important for maintaining your
bike's overall appearance - it's also important for maintaining its
overall integrity. Your bike comes into contact with road debris
and possibly corrosive substances, such as salt and oil, on a daily
basis. You can prevent the body from corroding prematurely by
wiping away all that dirt, grime and gunk on a weekly basis.
However, don't just take a cloth and literally "wipe" your bike
down. Treat your rig to a little TLC and give it a good, thorough
bathing once a week. Use this guide to learn HOW to wash your bike
the right way.
The Importance of Washing Your Rig the Right
Way
Contrary to popular belief, there is a right way and a wrong way to
wash a motorcycle. Motorcycles are intricate machines with several
small and fragile components. If you go about the cleaning process
in the wrong way, you risk damaging certain components and causing
irreparable harm. Moreover, if you rush through the process, you
may miss damage that you would have spotted had you taken your time
and been more deliberate in your care.
Step 1: Establish a Work Space
A bike, like a baby, needs to be in the right "mood" and at the
right temperature to take a bath. For this reason, you don't want
to wash your bike outside on a cool day or give it a good washing
immediately after shutting it off. By washing it in too cold of
conditions or when the engine is still warm, you risk sending your
bike into thermal shock.
Additionally, you don't want to wash your bike in direct sunlight.
A lot of bikers do this, as they believe that the direct light
helps with drying time. While it does, it also helps the soap dry
faster to the bike, which increases the probability that your bike
will be left with streaks and water spots instead of a mirror like
finish. Additionally, there may be chemicals in some of the
cleaning supplies that you're using that can have an adverse
reaction to warm or hot surfaces exposed to the sun. Ideally, you
should clean your bike on a warm day in a shaded area.
Step 2: Gather Your Cleaning Supplies
Once you've established a safe workspace, gather your cleaning supplies.
Like when cooking a meal, it's best to have everything you need on
hand. Also like when cooking a meal, it's best to have the exact
ingredients that the recipe calls for, as improvising can result in
a not-so-great outcome. If you don't have motorcycle cleaning
supplies on hand, go get some. In addition to picking up soaps and
waxes designed specifically for motorcycle, you also want to invest
in the proper tools. Those include the following:
- Rinseless wash
- Sponges and cloths
- Brushes
- Microfiber
Step 3: Plug Your Exhaust
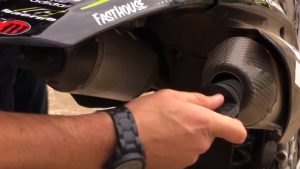
While motorcycles are generally pretty
durable, if you don't have to take chances, don't. Use a muffler
rubber plug
or an old cloth or rag to plug up the exhaust. Don't skip this step
if your exhaust is angled in such a way as to allow water to pool
in.
Step 4: Spray Down Your
Motorcycle 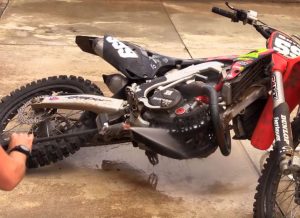
While you don't want to apply too much pressure to your motorcycle,
you do want to loosen up and get rid of as much dirt and grime as
possible. Apply an even stream of water and cleaner to your bike to
help loosen the gunk before applying your own elbow grease. A power
washer can be, however, before spraying your motorcycle down make
sure the spray isn't too strong. A power washer can make quick work
of stubborn dried up mud on dirt bikes. Once you've gotten the bulk
of the dirt off apply the cleaner to the motorcycle. There are
plenty of motorcycle cleaners on the market such as Maxima's Bio
Wash. Let the cleaner sit for the recommended time before spraying
it off the bike.
Step 5: Rub a Dub, Dub
At this point, now that the majority of the harmful components have
been rinsed off, it's okay to employ some elbow grease. However,
before taking a sponge or cloth to your motorcycle, it's important
to know the best process for washing it. We recommend doing the
following:
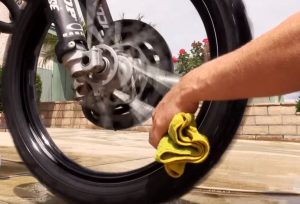
- Start from the front wheel and work your way to the rear wheel.
Make sure to get in all the nooks and crannys like around the brake
calipers, and under the engine.
- If you have a dirt bike or your motorcycle has a chain final
drive you can use a Grunge Brush to really give it a good
scrubbing.
- If your sponge picks up any dirt, grime or grease, replace it
with a new one to prevent those materials from harming your things
like your paint work or chrome finishes.
- Rinse your bike before the soap has a chance to dry. Spray it
down from all angles.
- Dry your bike thoroughly, being sure to get into all the
crevices and nooks to avoid premature erosion. The best way to do
this is to use a leaf blower. There are also motorcycle specific
dryers you can purchase such as the
Bikemaster Motorcycle Detail Blow Dryer.
Step 6: Re-Lube Your Motorcycle Chain
In the process of spraying your bike free of grime and dirt, you
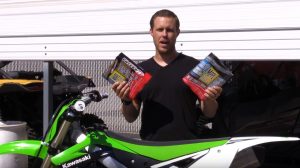
likely sprayed it free of lube as well. Re-lube your bike's chain
to ensure a safe ride when you take it out again. For dirt bike
owners pick up a chain care kit combo pack form Maxima they offer
either a
Chain Guard kit or a
Chain Wax kit depending on which your prefer. Also check out
this video on hot to properly clean and lube your chain-the same
principles apply towards sport bike chains as well.
Step 7: Wax On, Wax Off
Waxing your bike is probably the most laborious part of the washing
process, but it's also the part that yields the most results.
Invest in a good bike wax that will seal in the shine and protect
your paint from degradation. Products like S100 Detail
and Wax is great for Painted metal surfaces for cruisers and
Harleys, while Maxima's
SC1 Clear Coat is great for shining up plastics and carbon
fiber pieces on dirt bikes.
Of course, every biker has his or her own way of washing a
motorcycle. The above seven tips are just the basic steps, but if
you find others, incorporate them into the above regime, or even
devise a regime of your own. For the wash products you need, shop
our collection
at ChapMoto today.
